Clothes Pin Puppet
|
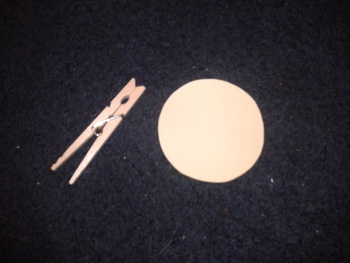
Supplies: - Wooden Clothespin
- Cardstock - White Glue (Elmer's) - Scissors - Construction Paper - Decorative items ie: Crayons Markers Googley Eyes Glitter ANYTHING |
Step 1: The Face
Take the cardstock and cut out a circle. The size of the circle is dependent upon how big you want to head to be. (note the picture next to supplies) Then cut the circle in half.
Determine what half is going to be the upper jaw and what half is going to be the lower jaw. At this point, if you want, you get change the shape of the circles to fit into what you want your creature to be (ie: if its a bird you might want to make them more triangular for the beak)
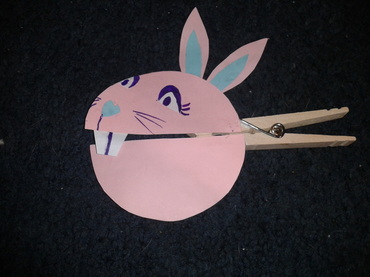
Start decorating your face! I find that centering the face is less convincing once the puppet comes to life, so I would suggest setting the face off to one side, almost like a profile.
Once the top and bottom jaws are completed. Take your clothespin and attach them. Make sure the oepning of the clothes pin is facing the same way as the mouth opening, otherwise you will have a wonky puppet!
Put the face aside!
Determine what half is going to be the upper jaw and what half is going to be the lower jaw. At this point, if you want, you get change the shape of the circles to fit into what you want your creature to be (ie: if its a bird you might want to make them more triangular for the beak)
Start decorating your face! I find that centering the face is less convincing once the puppet comes to life, so I would suggest setting the face off to one side, almost like a profile.
Once the top and bottom jaws are completed. Take your clothespin and attach them. Make sure the oepning of the clothes pin is facing the same way as the mouth opening, otherwise you will have a wonky puppet!
Put the face aside!
Step 2: The Body
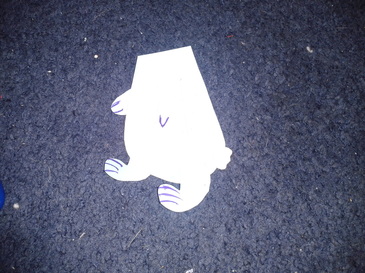
While the face is drying grab a sheet of construction paper and start decorating the body.
That's all that is really to this step.
My two suggestions:
- Make sure the body has some what of a profile stance to match the profile of the face
- Even if you finish the body quickly, don't mess around with the face until it is
completely dry. This means not moving on to step 3 until the glue has set, so you
may need to find a little something-something to do in between
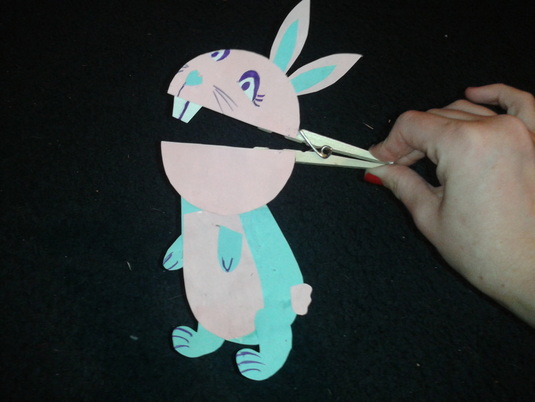
Step 3: Putting it all Together
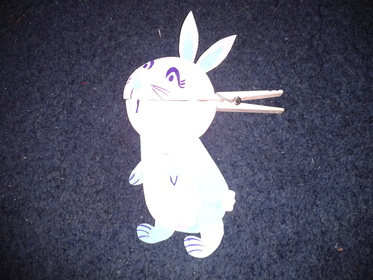
Once the face is completely dry, flip it over and attach the body to the bottom of the face. Make sure the body direction and the face direction are the same way.
Set this aside to let dry!
When it's dry...